
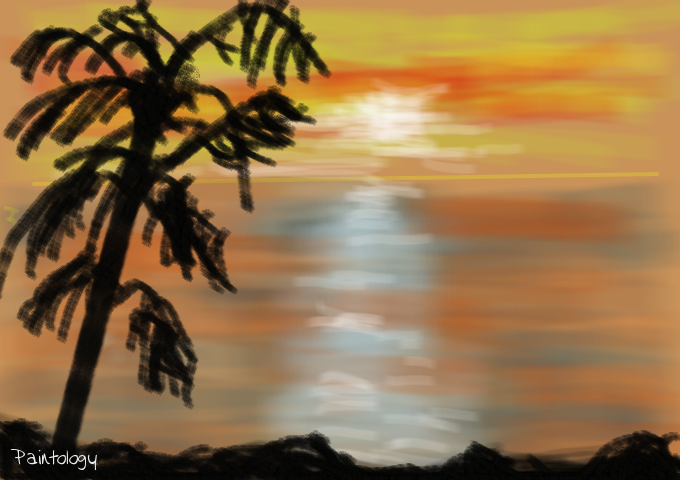
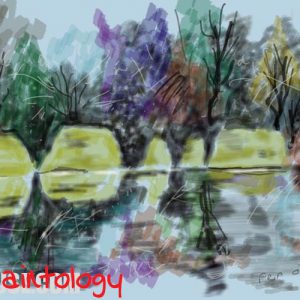
Digital Finger Painting – Sunset

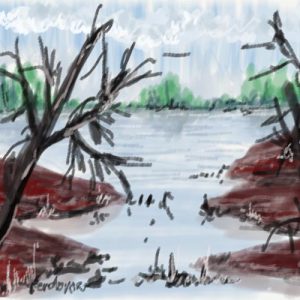
Continuing with our last lesson on digital finger painting – mt landscape, here we are going to tackle a sunset using finger painting (fig. 1). The advantage of using fingers for drawing is that some subjects such as clouds can be easier to do then using a stylus probably due to the randomness at which our fingers moves as well as some direct control on the canvas. Its a bit odd using your fingers at first as you cannot see the actual drawing being rendered on the screen unlike a stylus. However, it creates ‘intrigue’ as you drag your fingers and see the drawing unfold in front of your eyes. In a way, it adds to your creative juices as you can experiment with different colors and strokes of your fingers. One can achieve very interesting effects as you become more accomplished with the use of your fingers and the various tools that are available with Paintology.

We first create the clouds using the ‘dark haze’ tool set to half way for density and hardness and as you can see the strokes are left and right (fig. 2). Since sunsets usually have skies with a yellow and red tinge to it, I use these colors using the same brush tool. Towards the sea bed, I try to make the brush size smaller to create a sense of distance into the far horizon.

In fig 3 we draw a horizontal line which you could do very easily with a straight edge such as a credit card. Fortunately, Paintology has a very interesting function to draw straight lines which you should experiment and get a good handle on before applying to your painting. On any canvas if you touch your fingers with two points, you will create a line that extends between the two points where the fingers were pressed. Try it out and see for yourself!

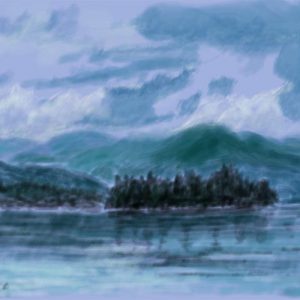
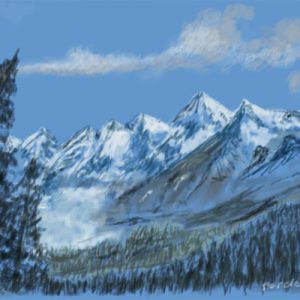
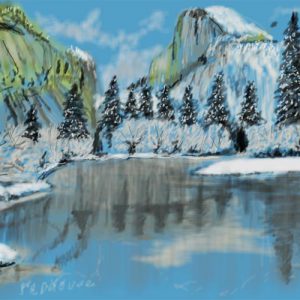
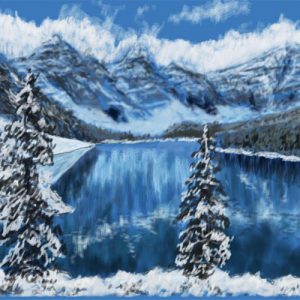
Once we have created a more horizontal line using the line brush tool, we go about creating the sea using almost the same color as the sky mainly orange and hints of grey (fig. 4). Also comes an interesting part where we draw the reflections of the sunset in the water. This is simply a whitish color using the same brush tool as before and simply moving back and forths and coming to the baseline. We etch in the land which is predominantly black. Notice you can take much care in your painting and work out the details slowly, this painting was done in about 10-15 mins so you will definitely see a few imperfections. However, to get the most refinement and accuracy in the painting nothing can beat the stylus. Check out some of the paintings of sunsets that I did using the stylus. See Image-1 and Image-2.

In fig. 5, we draw a shape of the tree using the two finger point method to create the straight trunk and then use our fingers and the line tool to create the branches. Unlike the previous painting of the mountain scenery that I did earlier, i tried using the dab dabbing method of the black but unfortunately, it makes the tree look positively anemic! Instead, I set the line tool to a small size and applied the leaves as well as I could to end up with the painting shown in fig. 1. I strongly recommend that you practise with this painting, using different shades of the clouds and sea to see the kind of effects that you can create.
Have fun and happy painting!


 Digital Canvas